This Appendix covers
- Introducing NVIDIA Omniverse and
- Programming in Omniverse
NVIDIA Omniverse (https://
C.1 Omniverse and OpenUSD
NVIDIA Omniverse and OpenUSD are deeply interconnected, with Omniverse leveraging OpenUSD as its foundational framework for interoperability and collaboration. NVIDIA has expanded upon OpenUSD to enable real-time collaboration, simulation, and AI-enhanced workflows, creating a powerful ecosystem where teams can work seamlessly across tools and platforms.
Omniverse simplifies the use of OpenUSD by providing a user-friendly interface and powerful tools that unlock its full potential without requiring deep technical expertise. Its built-in support for OpenUSD enables users to import, edit, and exchange complex 3D data effortlessly across a variety of applications such as Blender, Maya, and Unreal Engine. Through features like live syncing, real-time rendering, and AI-driven asset generation, Omniverse enhances the usability of OpenUSD, making it accessible and intuitive for users in industries ranging from design and entertainment to robotics and manufacturing. This integration allows creators to focus on their work without worrying about technical barriers, ensuring smooth and productive workflows
C.2 Installing Omniverse
To install NVIDIA Omniverse, first ensure your system meets the hardware and software requirements, such as a compatible NVIDIA GPU and updated drivers (https://
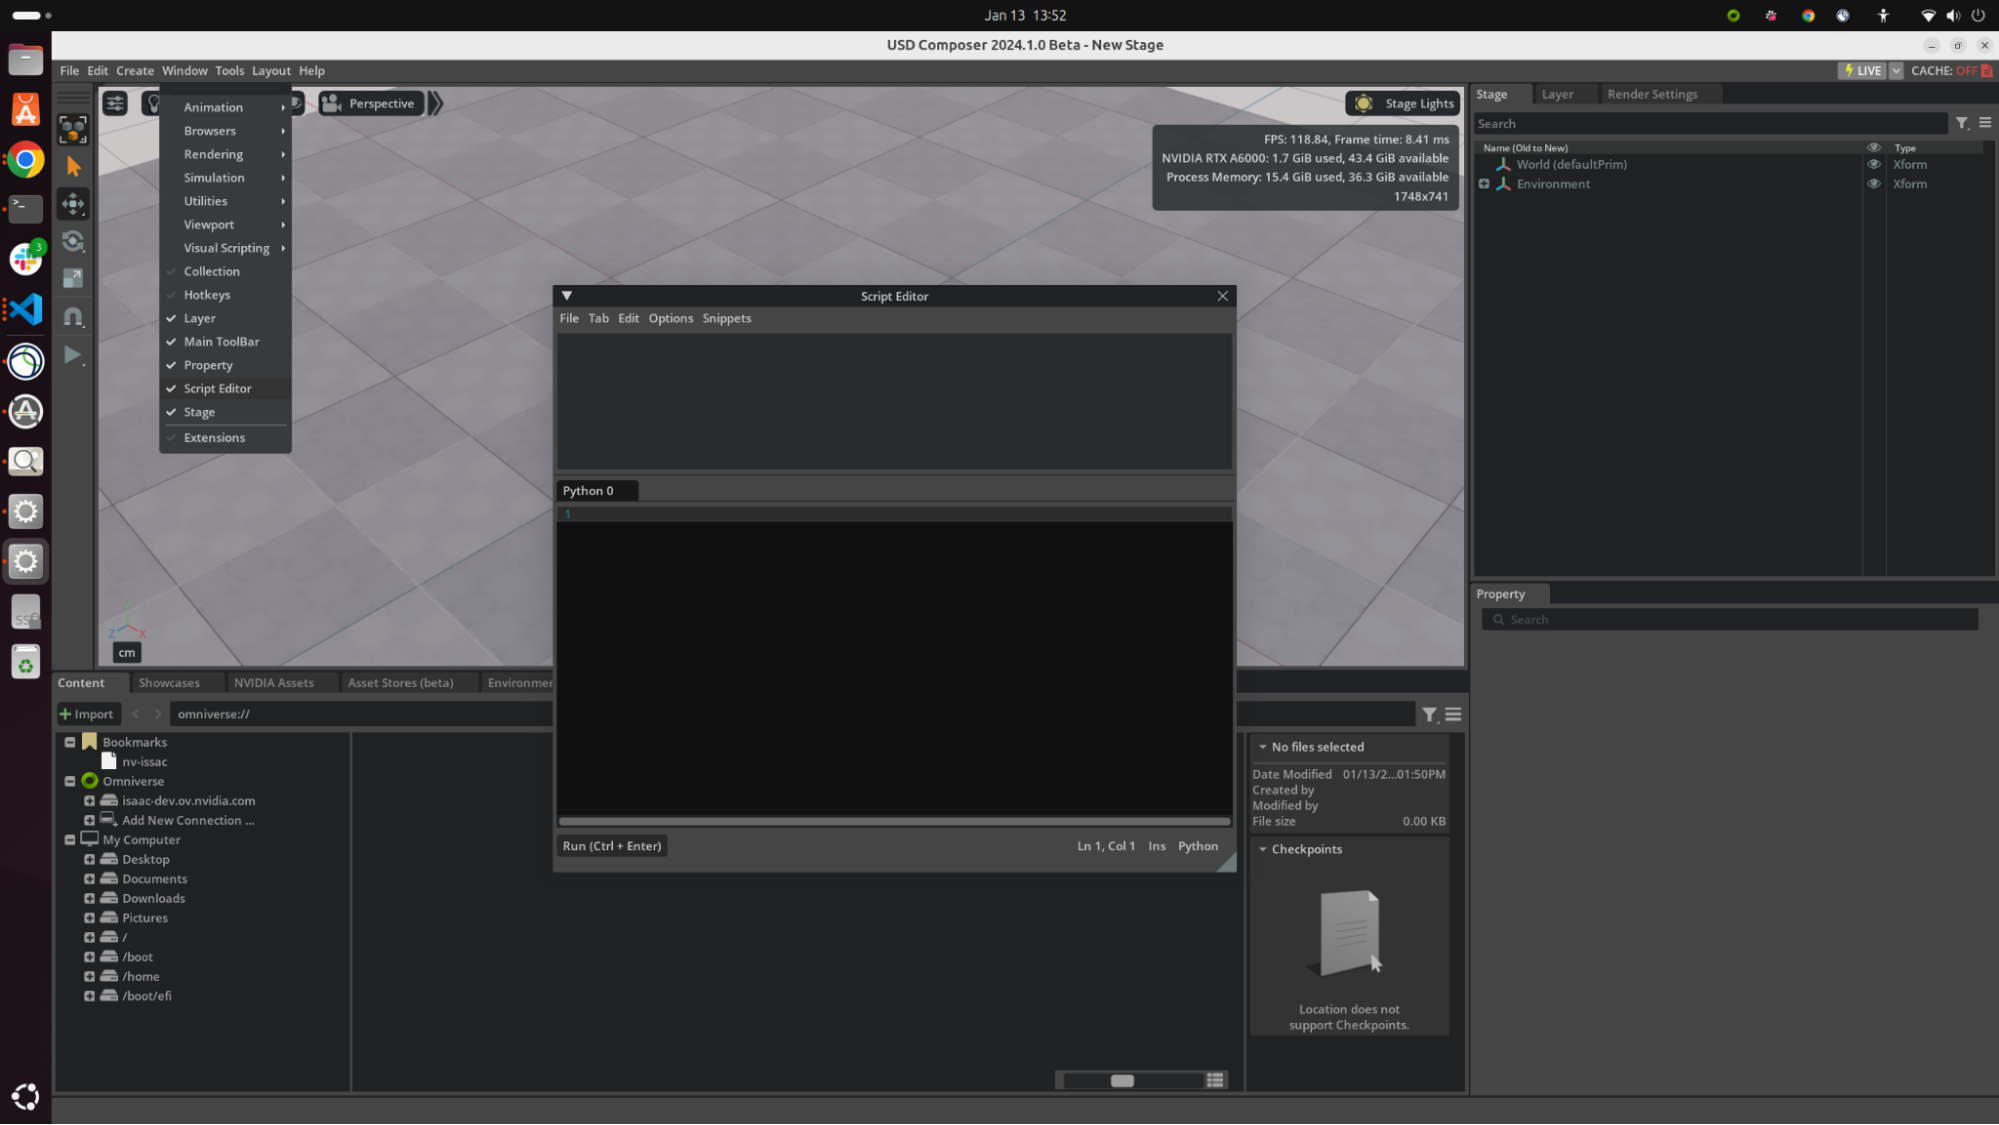
Figure 1:Accessing the Script Editor in Omniverse. The Script Editor can be opened from the Window tab in the menu bar.
C.3 Programming in Omniverse
In Omniverse, nearly all OpenUSD functions are fully supported, enabling users to use the extensive capabilities of the OpenUSD framework for creating, managing, and editing 3D scenes. While there are a few differences due to Omniverse’s unique real-time and collaborative environment, these deviations are minimal and primarily focused on optimizing performance and interoperability.
C.3.1 Getting Stage
For example, in the Omniverse UI, the steps of getting the stage is different:
import omni.usd

# Get Usd.Stage
stage = omni.usd.get_context().get_stage()
Instead of using the Usd.Stage.Create() function, Omniversem in real-time, holds a live stage in the simulation context.
Sometimes setting the up axis for the stage is crucial for ensuring consistency in the orientation of your 3D assets and the overall scene. Different software tools and workflows may use different up-axis conventions, such as Y-up or Z-up. Aligning the up axis ensures that imported and exported assets maintain their intended orientation and behavior.
from pxr import UsdGeom

# Z-axis up
axis = UsdGeom.Tokens.z

UsdGeom.SetStageUpAxis(stage, axis)
C.3.2 Using Timeline
The timeline in Omniverse is a powerful tool used to control the sequencing and playback of animations within a scene. It allows creators to set keyframes, adjust timing, and visualize how objects and characters move or interact over time. The timeline is essential for animating assets, simulating physics, and coordinating complex scenarios.
To get the timeline using script:
import omni.timeline
timeline = omni.timeline.get_timeline_interface()
Using the timeline, you can easily control the animation:
timeline.play()
timeline.pause()
timeline.stop()
By scripting the timeline, users can programmatically start, pause, or stop the animation, making it easier to handle intricate workflows, synchronize events, or integrate interactive elements into the scene.
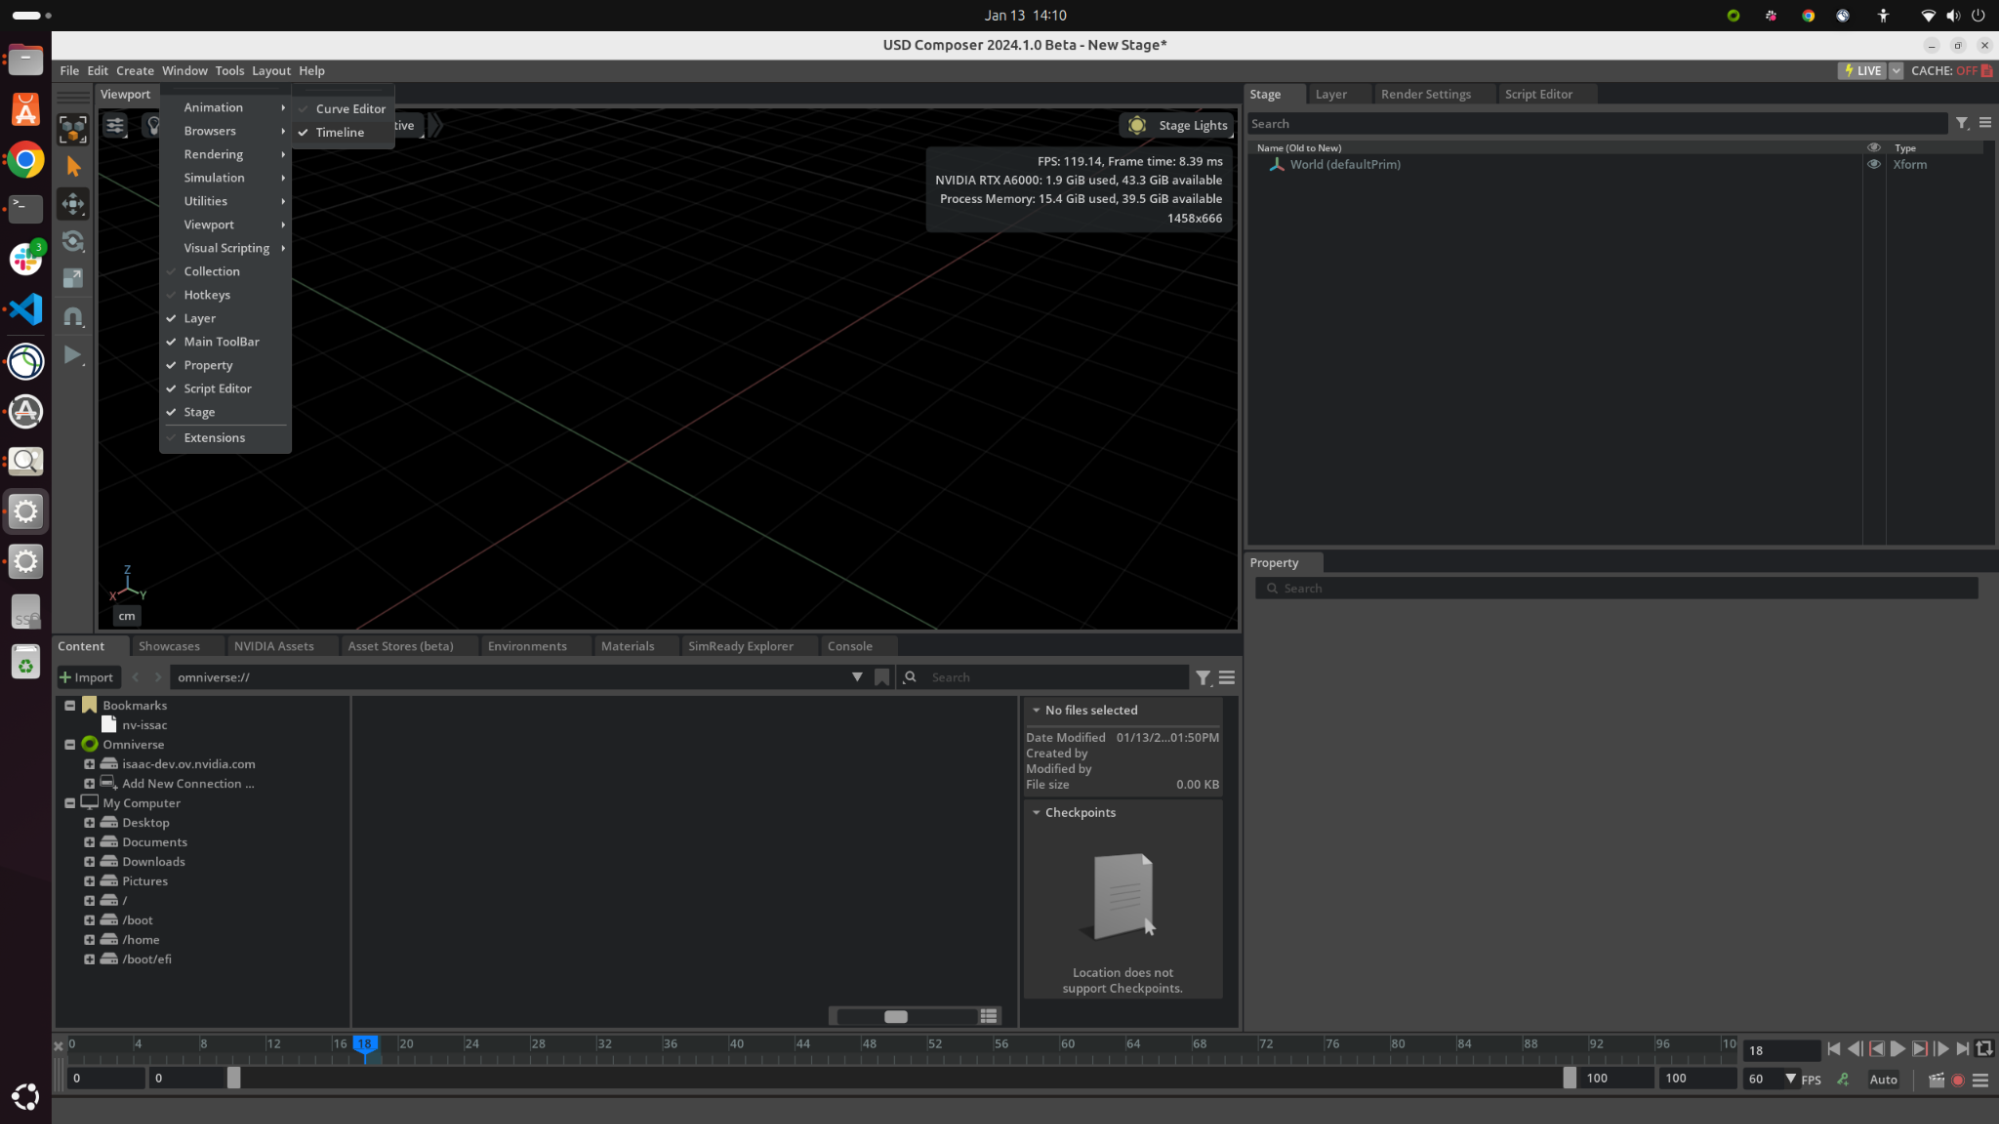
Figure 2:Accessing the timeline in USD Composer. The Animation Timeline can be opened from the Window/Animation tab in the menu bar.
C.4 Physics in Omniverse
NVIDIA PhysX (https://
When simulating physics in Omniverse, every time you need to add a physicsScene prim to the stage to control the physic events:
from pxr import UsdPhysics, Sdf, Gf

# Define a physics scene
scene = UsdPhysics.Scene.Define(stage, Sdf.Path("/physicsScene"))

# Set gravity direction
scene.CreateGravityDirectionAttr().Set(Gf.Vec3f(0, 0, -1))
To create a physics scene in Omniverse, we use the UsdPhysics module from the USD Python API. Then, you can configure the scene’s gravity by setting the direction attribute, which specifies gravity acting in one direction. This process initializes the physics environment for simulations.
C.4.1 Rigid Body Physics
Using Rigid body physics in Omniverse follows exactly the same schemas as UsdPhysics. Leveraging its physics simulation engine, Omniverse can create realistic interactions between objects, such as collisions, gravity effects, and joint constraints, in a physically accurate manner. Rigid bodies can be assigned to various objects in a scene, enabling them to interact dynamically based on their physical properties.
To set up rigid body physics, let’s review the skills we’ve learned from Chapter 7 by adding a sphere with physics to the stage:
import omni.usd
# Get stage
stage = omni.usd.get_context().get_stage()

from pxr import UsdGeom, Gf

radius = 5.0

# Create a sphere
sphere = UsdGeom.Sphere.Define(stage, "/World/Sphere")
sphere.CreateRadiusAttr(radius)
sphere.CreateExtentAttr([(-radius, -radius, -radius), (radius, radius, radius)])

# Give a blue color
sphere.CreateDisplayColorAttr().Set([Gf.Vec3f(0, 0, 1.0)])
Following the instruction of Chapter 3, we can give a transform to the sphere:
# [Optional] Clear transform order
# sphere.ClearXformOpOrder()

sphere.AddTranslateOp().Set(Gf.Vec3d(0, 0, 200))
sphere.AddOrientOp().Set(Gf.Quatf(1.0))
sphere.AddScaleOp().Set(Gf.Vec3d(1.0))
Now, it is time to add a rigid body with collision to the sphere, notice that the APIs from UsdPhysics can only be added to a prim:
from pxr import UsdPhysics

# Get prim
sphere_prim = sphere.GetPrim()

# Add rigid body
rigid_body_api = UsdPhysics.RigidBodyAPI.Apply(sphere_prim)

# Add mass
UsdPhysics.MassAPI.Apply(sphere_prim)

# Add collision
UsdPhysics.CollisionAPI.Apply(sphere_prim)
Finally, we can add a velocity on the x-axis
velocity = Gf.Vec3f(20, 0, 0)

rigid_body_api.CreateVelocityAttr().Set(velocity)
C.4.2 Deformable Body Physics
Omniverse supports GPU-accelerated deformable body simulation, enabling realistic modeling of soft, elastic, and flexible objects. This feature allows users to simulate materials and objects with non-rigid behavior, such as cloth, rubber, or biological tissues, with high fidelity. For detailed guidance, users can refer to the Omniverse extensions documentation, which offers handy code snippets and resources to get started with deformable body simulations effectively.
Let’s open the stage (Appendix
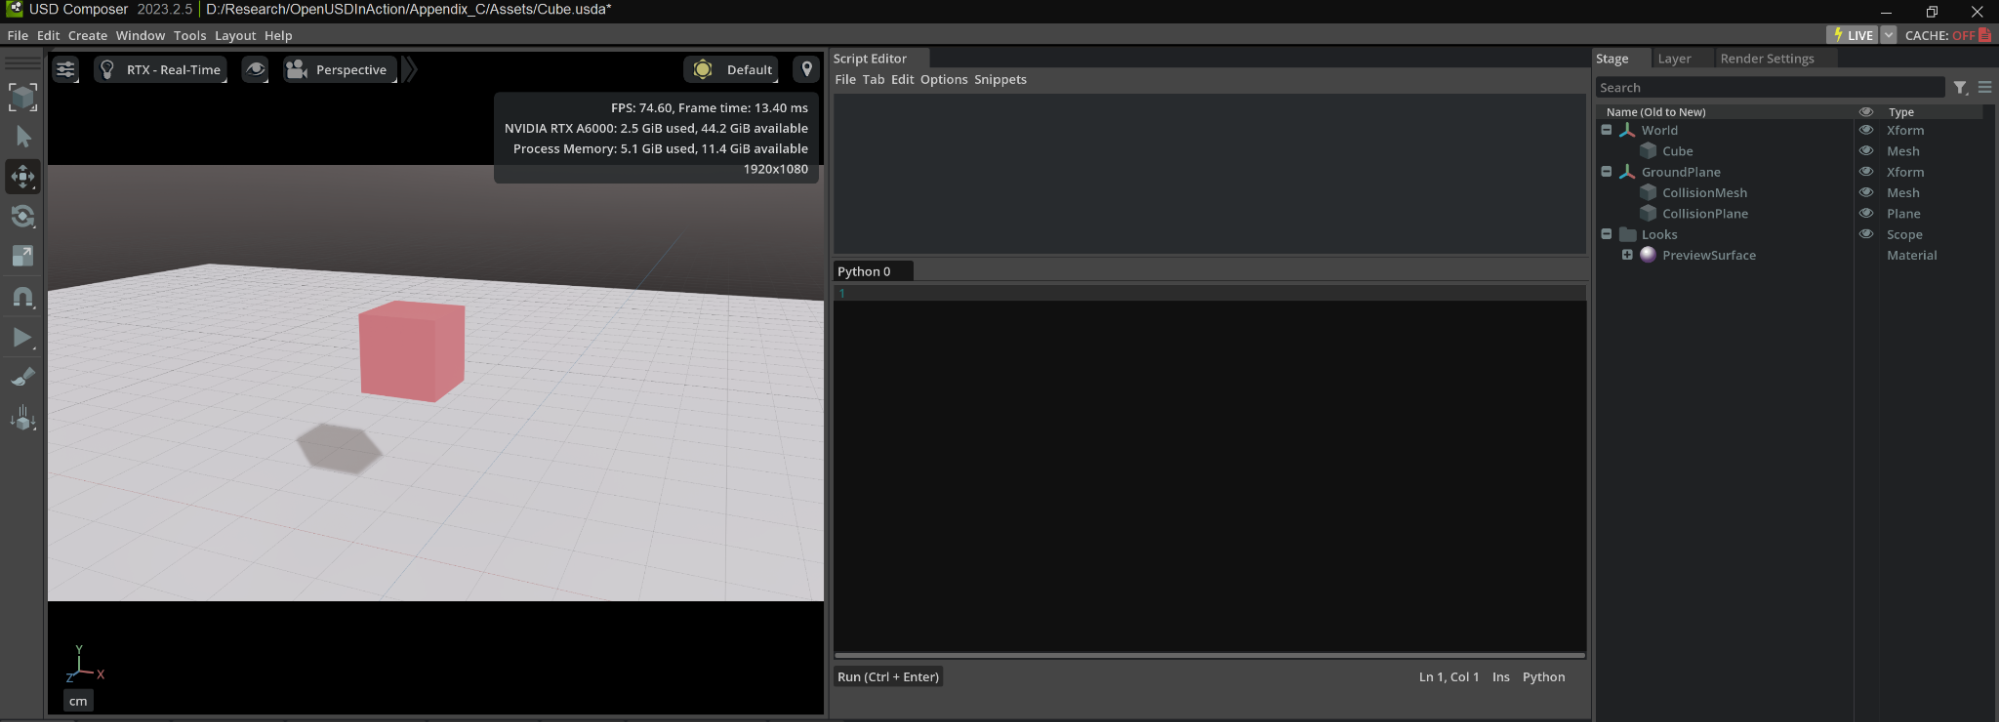
Figure 3:Sample Cube Stage. The stage contains a pink cube and a ground plane.
To make it deformable:
from omni.physx.scripts import deformableUtils, physicsUtils
stage = omni.usd.get_context().get_stage()
deformable_prim_path = "/World/Cube"


deformableUtils.add_physx_deformable_body(
    stage,
    deformable_prim_path,
    simulation_hexahedral_resolution=4,
    collision_simplification=True,
    self_collision=False,
    solver_position_iteration_count=20,
)
Using the PhysX API, the deformableUtils.add_physx_deformable_body function initializes a deformable object at the specified path (/World/Cube) on the stage. Key parameters configure the simulation, including simulation_hexahedral_resolution for mesh resolution, collision_simplification to simplify collision computations, and self_collision to disable self-collision detection. The solver_position_iteration_count adjusts the solver’s precision for position updates, ensuring accurate deformation behavior during simulations.
Optionally, you can add a deformable material to it to control its physical properties. The Omniverse platform extends OpenUSD with additional schemas, including the PhysxDeformableBodyMaterialAPI which includes attributes that are not part of the standard UsdPhysicsMaterialAP. These include:
- Young’s Modulus: A measure of material stiffness, influencing deformation under stress.
- Poisson’s Ratio: The ratio of lateral strain to axial strain in a material when subjected to stress.
- Damping: A property describing energy loss (e.g., from friction or air resistance) during motion.
- Friction Combine Mode: Determines how friction values are combined between two colliding surfaces.
- Restitution Combine Mode: Defines how restitution values are combined for collisions.
Let’s create a deformableBodyMaterial using the deformableUtils module:
deformable_material_path = "/World/deformableBodyMaterial"
deformableUtils.add_deformable_body_material(
            stage,
            deformable_material_path,
            youngs_modulus=1000.0,
            poissons_ratio=0.49,
            damping_scale=0.0,
            dynamic_friction=0.5,
        )


deformable_prim = stage.GetPrimAtPath(deformable_prim_path)
physicsUtils.add_physics_material_to_prim(stage,, deformable_material_path)
Finally, you can see a bouncy cube! By leveraging features like UsdPhysics for scene creation and PhysX utilities for deformable body simulations, users can define realistic environments with gravity, collisions, and material deformations.
Note It’s important to note that the PhysxDeformableBodyMaterialAPI is marked as deprecated and is expected to be replaced by a new deformable schema in future releases. Therefore, while you can refer to NVIDIA’s documentation for guidance on applying these attributes within Omniverse, be aware of potential changes in upcoming versions.
For further information about NVIDIA’s PhysX API, you can explore the documentation here: https://
C.5 Rendering in Omniverse
Rendering in NVIDIA Omniverse provides a powerful and flexible workflow for generating high-quality images and animations, leveraging the power of real-time ray tracing and physically based rendering (PBR). By using coding techniques within Omniverse, users gain precise control over the rendering pipeline, allowing for customization, automation, and optimization that would be difficult to achieve through purely graphical interfaces. This approach is particularly beneficial for large-scale productions, procedural content generation, and research applications where efficiency and scalability are critical.
Through scripting and API-based control, developers can integrate rendering tasks into broader workflows, automate repetitive processes, and fine-tune parameters dynamically. Omniverse’s Python-based scripting environment enables users to interact with OpenUSD data, manipulate scene properties programmatically, and even build custom render extensions. This level of flexibility empowers artists, engineers, and researchers to push the boundaries of visual fidelity and interactivity while maintaining a streamlined and efficient rendering pipeline.
This following code is to dynamically access the active camera within Omniverse for further manipulation, such as adjusting its properties, switching viewpoints, or using it for rendering. First, we have to get the viewport and the active camera on the stage:
from omni.kit.viewport.utility import get_active_viewport
viewport = get_active_viewport()
camera_path = viewport.get_active_camera()
Next, we can set up some rendering options. To get the options, try:
from omni.kit.capture.viewport import CaptureOptions, CaptureExtension

options = CaptureOptions()
In Omniverse, it is necessary to specify output settings for image or video rendering. We can set the file type to .png, indicating that the output will be a still image (for video, .mp4 can be used). The start frame retrieves the scene’s starting time code. The end frame setting is commented out because it’s only necessary for video rendering. The output folder is defined (options.output_folder), and the file name is set to “render.png”, specifying where and how the rendered file will be saved.
# png for image, mp4 for video
options.file_type = ".png"

options.start_frame = int(stage.GetStartTimeCode())

# Set end frame for video only
# options.end_frame = int(stage.GetEndTimeCode())

options.output_folder = "<your_path_to_folder>"
options.file_name = "render.png"
To set the rendering mode in Omniverse, we can refer to the render mode. If the mode is “PathTracing”, it applies the Path Tracing preset; otherwise, it defaults to Ray Traced Lighting. The camera is set according to the camera path we got previously, specifying which camera will be used for rendering.
options.render_preset = omni.kit.capture.viewport.CaptureRenderPreset.PATH_TRACE
# options.render_preset = omni.kit.capture.viewport.CaptureRenderPreset.RAY_TRACE

options.camera = camera_path
The final step in the rendering process involves initializing and executing the capture operation. First, an instance of the CaptureExtension class is obtained, ensuring that the rendering process is managed within Omniverse’s capture framework. The previously configured options (such as file type, output path, render mode, and camera settings) are then assigned, ensuring that the rendering adheres to the specified parameters. Finally, capture_instance.start() triggers the rendering process, generating the final image or video output based on the configured settings.
capture_instance = CaptureExtension().get_instance()
capture_instance.options = options
capture_instance.start()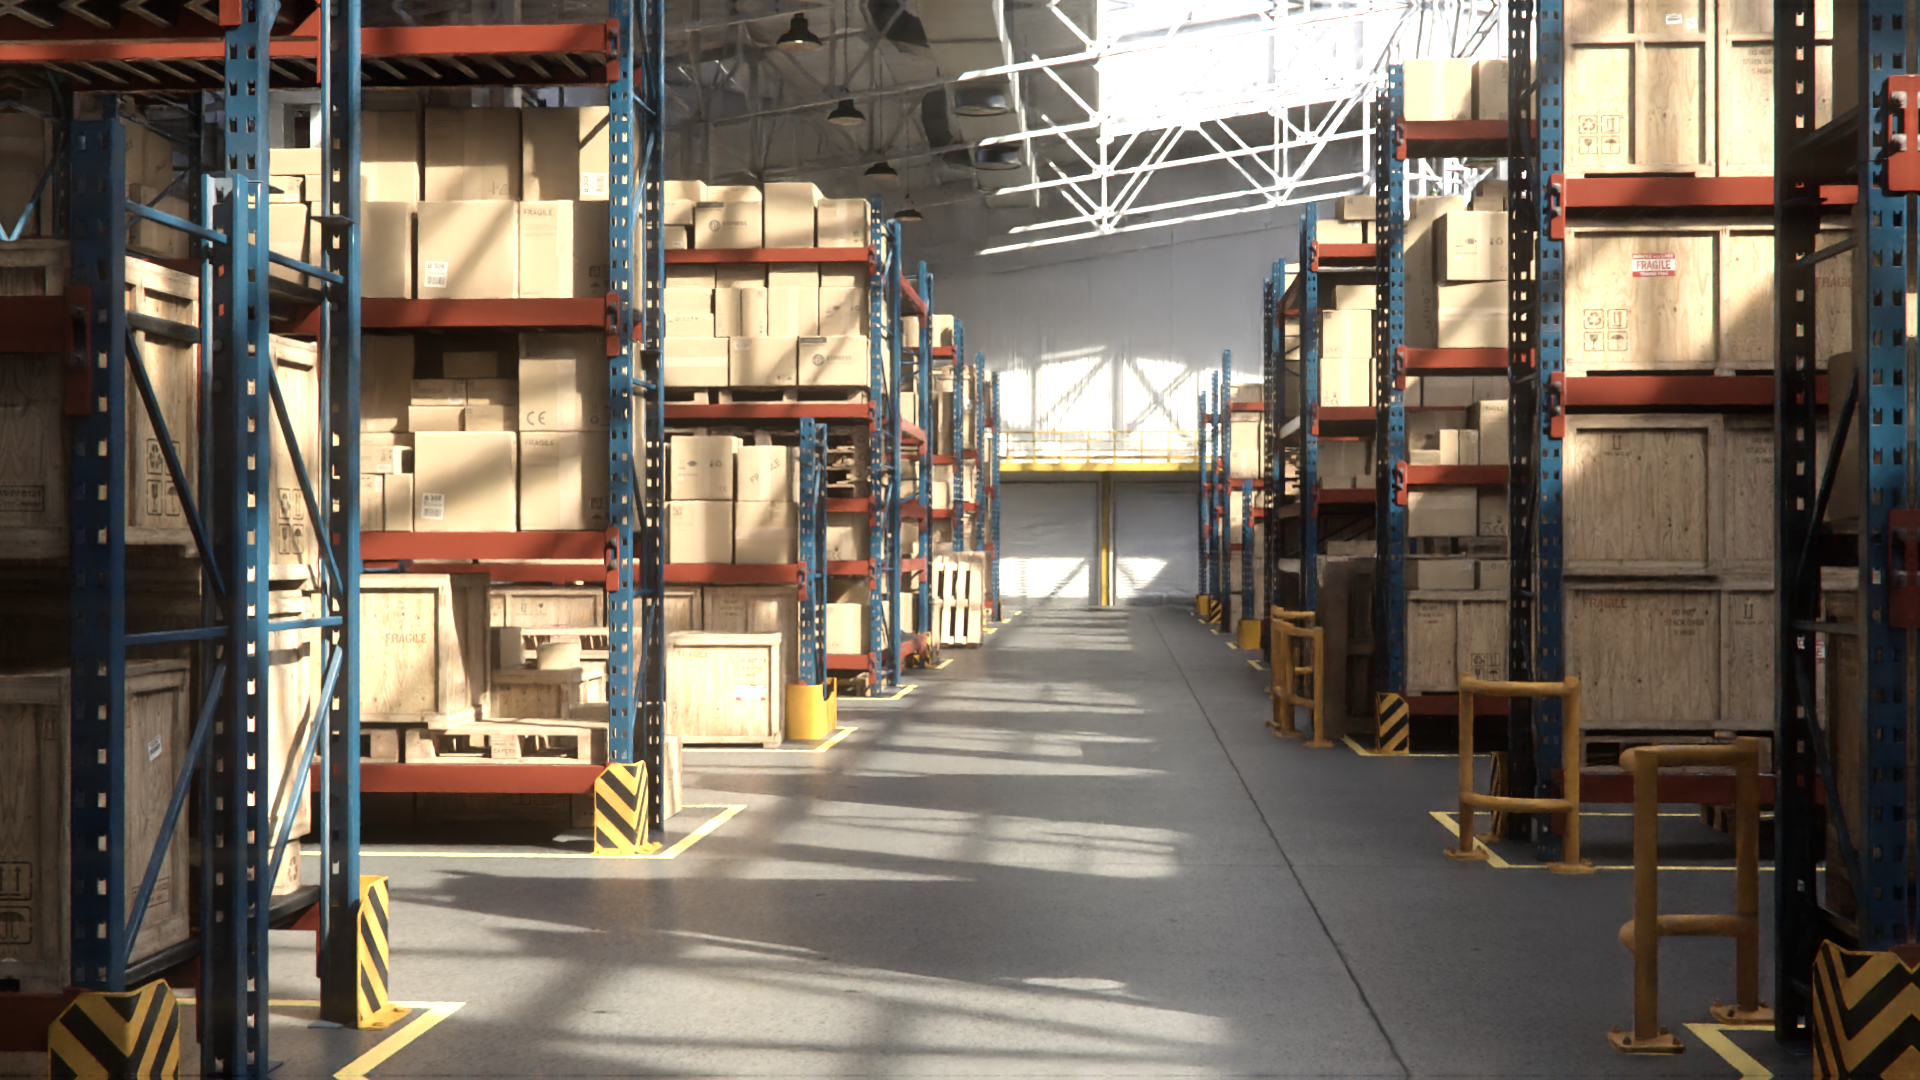
Figure 4:Sample Rendering Image. The stage is an example warehouse (https://
Rendering in Omniverse combines powerful real-time ray tracing with a flexible scripting environment, allowing users to automate and optimize their workflows. By leveraging Python scripting, developers and artists can dynamically control the rendering pipeline, customize settings, and integrate rendering into larger production pipelines. From selecting the active camera and configuring output options to setting render modes and initiating the capture process, scripting ensures efficiency, scalability, and precision in rendering tasks. Whether generating high-quality images or animations, Omniverse provides a robust framework for achieving photorealistic results while streamlining the rendering workflow.